The Finals S2 - Best Settings For Max Fps And 0 Latency
Amazing intro

Welcome back to another brand new article, and the final season 2 is finally out. If you guys are looking for the best settings, this article is for you. Make sure to stick around till the end and do not skip any part for the best performance. With all that said, let's get started.
Compatibility settings
Started All right Step number one is compatibility settings, and for that, you have to open up Steam on your PC, then find the Finals over here.
Go over to Manage, click on Browse Local Files, and then over here you'll find {46}. Simply right-click, go over to properties, then go to compatibility, over here, and then click on disable full-screen optimization. Click on Change higher DPI scaling behavior, and then click on the first button over here.
Click on okay, and then click on okay.
Best windows settings
Step number two is the best Windows settings, and for that, you have to open up settings on your PC. Right over here, you'll find gaming and then the game bar. Make sure to turn off this thing because the off-game bar consumes a lot of processing in the background, and disabling it will help you get extra FPS.
After that, go back to gaming. Go over to Game Mode and turn this thing on. It will optimize your PC by turning things off in the background, and it will give you better performance.
Graphics settings
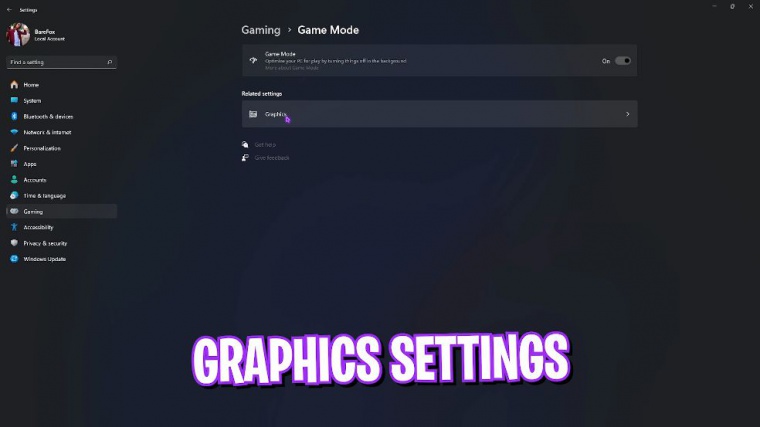
Right beneath that, you'll find graphic settings. Simply open it up, and then over here you'll find the option called change default graphic settings. Simply open this thing up, and in here you'll find two options.
Hardware exor GPU shuing means it will utilize your GPU more than your CPU for rendering. You have to enable this thing, and optimizations for window games will help you reduce your input latency in window games. After that, go back to graphics, and in this list, you'll find all of the applications and games that use your GPU primarily.
You have to find {46} over here. If not already, in this list you can go over to options and then click on high performance. If this is not in the list, you can go to browse and then paste the installation location that you've copied, and then add {46} from here. Once that is done, close the settings well before Moving ahead.
Gvg mall best cd key outlet
I would like to introduce you all to gvg Mall, a store that fulfills all your digital needs for games and gift cards in one place. Gvg M has a wide variety of digital keys for games and in-game currency for multiple vendors, which is legit reliable and convenient. On the website, you can find a lot of categories where you can get Steam and Origin, as well as PC game gift cards.
And a genuine Windows activation key I, however, like how convenient it is to get a genuine Windows key since I do not like the activated Windows watermark on my screen, and to fix it. I can literally get a Windows key here. Discount Generally, you can get Windows 10 for 5378. But on this sale, you can get it for $2175.
And if you use my code Fox 25, you can get an additional 25% off at just 1631, and you also have the Windows 11 update for free, so it is the perfect time to get rid of that Windows activation. There are multi-bit payment methods that are convenient, and once you buy them, you will get an email within minutes.
Using that code, you can activate your windows in no time, so go check out gvg.
De-animate windows

This is a super important step, so simply search for ways to adjust the appearance and performance of Windows. Over here, click on Adjust for best performance. Click on the first option, which is save taskbar thumbnail previews. After that, you will find thumbnails instead of icons, as well as smooth edges on screen phones.
Make sure to enable just three of these things, and it will animate all of the unnecessary ones on your windows, and it will help you to save the processes and services running in the background after.
Setup virtual memory
You have to set up your virtual memory, so for this, you have to go over to advanced settings, and then for processor scheduling, set this into programs, virtual memory.
Click on change, select automatic manage paging file size for all drives, and then over here. Select your local disk C for a custom size. Set this thing to 1361. It is just a little bit over 1 GB, and for maximum size, you have to open up your calculator, and you also have to open up system information on your PC.
Take a look at your installed physical memory, which is 32 GB for me. Also, take a look at your processor, which is an AMD processor for me now over here. 32 is your installed physical memory. Multiply it by 12, 24, and you'll get the memory size in megabytes. This is your total memory size. You have to divide this thing by two, and now you get half of your total memory size.
That is the value that you have to set for the maximum size. This is the perfect way to set up virtual memory for your PC to improve your gaming performance. Make sure to click on Set. After this, click on okay, and then click on okay over here as well.
Fix all network issues
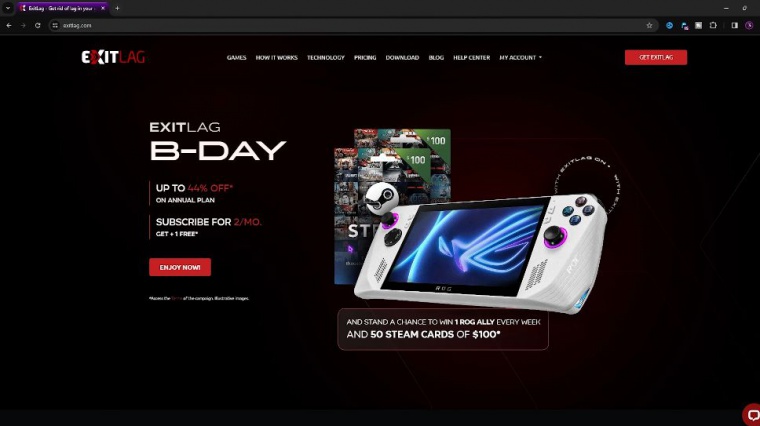
The next step is fixing all network issues using exit lag. Exit Lag is your first choice to get rid of internet issues such as packet loss latency, ping issues, and much more. Make sure that you turn this thing on over here. On the left-hand side, you'll find a list of over 1, 000 games to choose from, and you can simply search for the finals over here, so simply click on it and choose the nearest game region to you.
For me, it will be Singapore 01, and it will give me an estimated 53 milliseconds of pay. Simply click on Apply Roots, and the final will be added to your recent list. This will help you optimize with one click. Your internet, as it helps you to turn all your internet straight from your PC to the game servers without any connection, and it will help you to fix your packet loss ping issues, latency, input delay, and so much more.
The best part of exit lag is the tool section over here, which offers you a dedicated FPS boost section. If you enable the first, second, third, fourth, fifth, and last option, it will also help you increase your FPS by a turn once again.
Disable memory compression
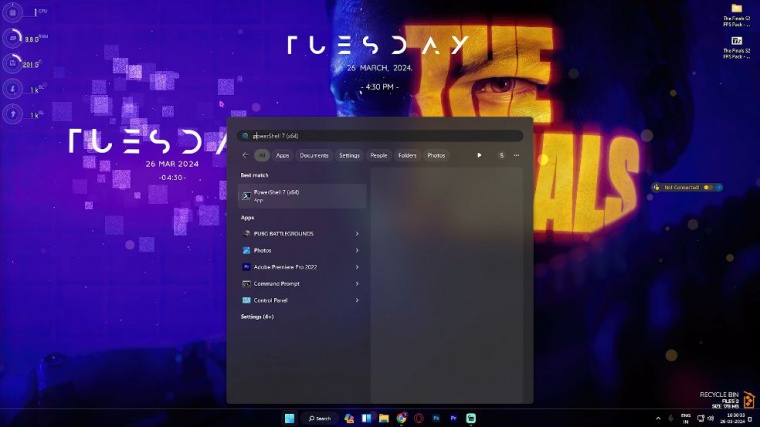
The next step is disabling memory compression, and for that, you have to open up PowerShell as an administrator, so simply go over to search for PowerShell and open it up as an administrator. Now, once it opens up, you have to paste this command, which is get hyphen MMA gent, and it will show you your memory compression.


