The Finals: 5 Quick Cl-40 Tips

Here today we got five quick tips with the CL40. Now, generally speaking, this thing isn't too great, but with the things I'm going to show you today, hopefully you can actually find some use with it, and in some instances, specifically with the first thing I'm going to show you, this thing can actually output a ton of damage despite only having four rounds in the magazine, so without further ado, let's get right into it.
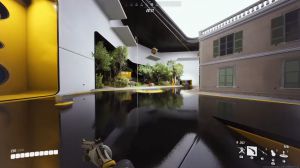
Starting things out at number one, we have the mine combo. Now the mine combo is very awesome. It may not be my combo because I didn't look this up; it's just something I kind of discovered after a bit of testing, jokes aside, when using the CL40. Exploding both friendly and enemy mines is very easy, so if I throw this explosive mine out here because this thing's a grenade launcher, you know I can shoot all the way over there and still blow that thing up.
What we can do with this is turn it into an aggressive play style. As you can see right here, CL40 really does not do a lot of damage, and you only have four shots, so sometimes if you don't hit all your shots, it's very easy to lose a gunfight. Well, what you can do is throw a mine, and when you do this to blow it up out of the air, you don't want to try to shoot the mine out of the air; you want to shoot the ground underneath it, so if I do that, as you can see.

I can almost one shot this target, and the same thing goes for the gas mine right here, so if I have these targets right here, let's say I don't even want to throw it at them just to get them in the general area. I can throw it on the wall next to him and shoot it, and as you can see right there now, I have a gas cloud doing a ton of damage.
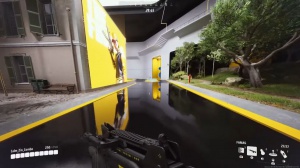
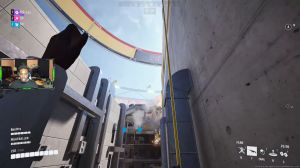
If you take advantage of this in-game, I promise you, as you can see right here, even taking out Heavies and everything, this does a ton of damage, and it's definitely worth getting good at doing. Next up at number two, we have an awesome tech with the jump pad. The jump pad, when using the CL40, is very useful because, of course, it lets you get that aerial superiority on targets and shoot down, which is a lot easier than trying to hit them directly.

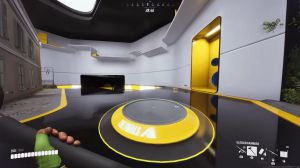
However, what you can also do, let's say, let's imagine for a second that we'll actually run in here to show this even better. Let's say the cash out is in this box right here, and we know there's targets there. I don't want to run over here because, yeah, I can do a little bit of damage, but I'll probably die in the process.
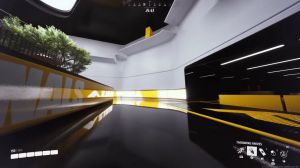
Well, what I can do is slide over here. Put a bounce pad on the wall, and as you can see here. I can actually bank shots into that corner and deal quite a bit of damage, and because this thing has quite a decent splash radius, as you can see here, you can just fire some shots off. As you can see.
As you've been watching the article, I just don't aim down sides with this thing, and there's a good reason for that, as you can see by my little reticle. I'll look down so you can see it better. This is already super tight. If you aim down sights, you see, it kind of gets a little better. The only time it's really noticeable is when you are airborne.

As you can see, it's quite a bit tighter there, so if you're jumping, maybe aim down sights for a second, but generally speaking, you're just as fine hit firing, and the reason you want to do this is because you're able to maintain your movement speed. You can jump; you can slide. You can do all that without having the penalty of being aimed at and moving like a snail, so with a little bit of practice and everybody's different, you know.
I like to move around and be quick while I'm using this thing. If you like a more sit-back play style, maybe aim down sights more, but generally speaking, I think you will have more success if you just don't aim down sights. Use the HTI fire and practice with it, and I think you'll be fine. Next up at number four, we have aiming.
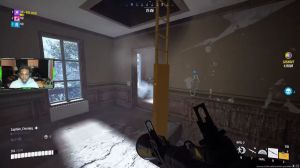
Now we just talked about hit-firing. What do you mean by aiming? Well, what I mean by this is more like the hitbox that this thing provides when shooting at targets and where you should be aiming. What I see a lot of people do, and there's not necessarily anything wrong with this, is aim at the feet just like this.

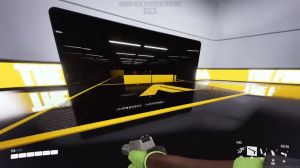
You know, doing damage that way is going to take a little bit off your damage. It might be easier for some to do that, but because you only have four rounds, you want to make them all count. This thing, just to say it flat out, has a ton of forgiveness with its rounds. As you can see right here, I'll aim all the way to the right; it's still going to explode.
You can see where my reticles are. I'll even go a little further, as you can see it getting a little bit closer. That's the range right there. You basically have like two or three more reticles to the left or right of where you are aiming at a Target, so in my opinion, you should be aiming directly at Targets all the time underneath the arm, as you can see right here.
No big deal; next to his leg, it's going to detonate. Granted, that's not a great example because it's going to the ground, but you see my point, right? No matter where you're at, you have quite a bit of forgiveness. When it comes to shooting this thing, if you're going to engage a Target headon, go for those direct hits, because they're a lot easier than you might think, as I miss One.

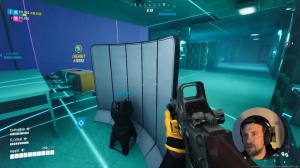
And finally, at number five, we have the optimal kills. Now I will post the damage numbers for this thing on screen. However, I will warn you that these numbers can be a little inconsistent because you're not always going to deal with the same amount of damage, even if you are directly impacted. This could be because of the net code.
Sometimes this thing I don't know maybe the rounds explode early, anyways in my experience the damage can be a bit inconsistent, however it's still good to know what your optimal kills are because you only got four shots in this thing right so for a light Target it is going to be two direct impacts to the body, for a medium you can guess it's going to be 1 2.
3 now as I said this can be a bit inconsistent, so inconsistent in fact that this last one I wouldn't even recommend you really try to do this optimally so for a heavy it is going to be four shots as you can see right here but as you can see he doesn't die so my recommendation, is if you are going to engage a heavy Target you have two options right.

The first is to make sure he's weak. Make sure you call out for your teammates. Be like, Hey, I got a heavy in front of me. I don't want to mess with him; that way you can get that optimal shot after he's been weakened a bit, or the other one, as I showed off in that first tip, explosive mines actually make this pretty manageable, so if I slide up on him and throw a mine like that, as you can see, it becomes a lot more manageable, and I have an extra round to work with.