The Finals: 50 Tips Every Heavy Needs To Know
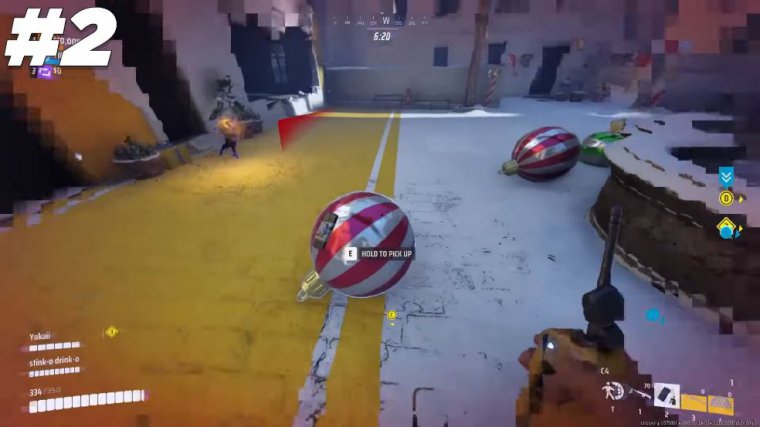
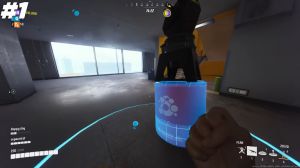
These 50 tips will instantly make you better at heavy lifting. Not many people know that you can knock the cash-out box over by punching at the very top of it, waiting for it to sway back towards you, and then punching it again over and over again until it finally falls over. This might seem like a useless piece of information, but it actually brings me to the next tip: you can hide C4, right under where the cash out falls, and when an enemy starts stealing it, all you need to do is activate it and get a free kill; they'll never see it coming.
Generally speaking, you always want to have C force on the cash out to blow up if it starts capping. Do keep in mind, though, that once this tip gets a lot more common, many players will start baiting the cap, so if that starts happening, you can just wait for them to commit for a few seconds and give them that false sense of confidence before blowing them up.
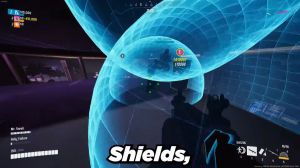
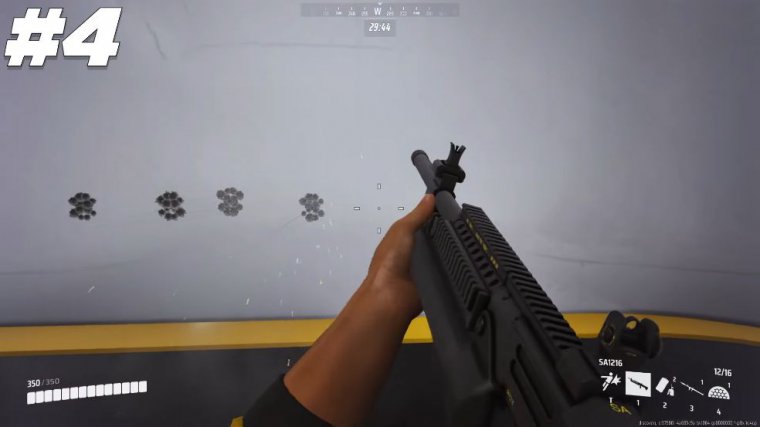
Any shotgun, including the SA26, will have no difference in its spread or accuracy, whether you aim down sights or not, so just keep hitting and firing with it. If you jump at the end of a charge, you will perform a slam, which will give you some extra damage. You should always play inside or behind the dome, and if an enemy decides to push your dome shield and take the fight, you should start playing the edges of the dome shield instead to get the most out of it.
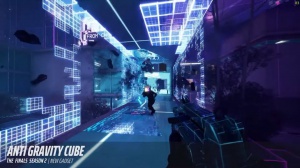
Place mines on statues. That's because if somebody gets revived, they might just blow up or at the very least the mines might end up slowing down their teammates because they want to be careful or even clear them off before going for that revive now obviously they can just get around this by Reviving their teammate farther away from the statue but most players don't know the M range that well just yet always remember you can shoot through the Dome Shield while your enemies can't, if you're going for a Cash Out steal and all of your team te mates are left standing the best order to do so is by dropping the Dome shield on the point holding your M Shield up and then standing on top of your teammate as they go for a steal while turning your Shield towards any enemies that might be shooting at you if you for whatever reason like if your teammates are terrible, have to go for the steel on your own make sure to drop the Dome shield in a way where the Dome cuts off the line of sights between you and any potential C4.
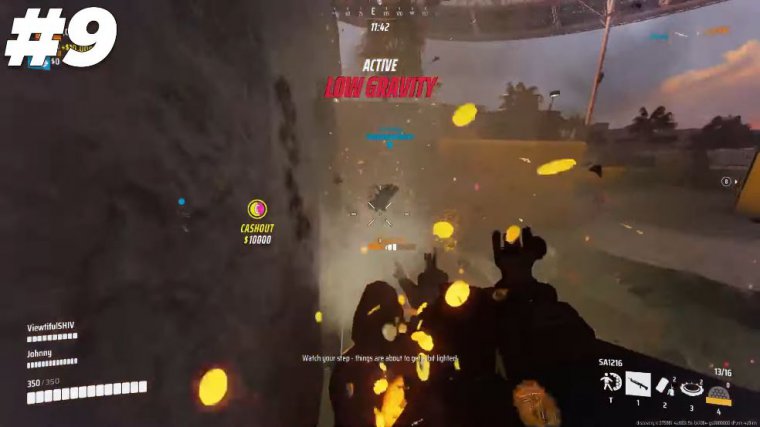
Or overe explosive utility placed on the cash out and that's because if the enemy does blow this utility up it will damage the shield instead of you there's currently a glitch where you can spam the sa1 1216, without needing to, the gun in order to pull this off shoot free bullets start a Reload and immediately swap between a gadget and back, a good use of the Dome Shield is to drop it right on top of the enemy team when jumping in or dropping onto them from a height to cut off the line of sight as you drop down and then give you an advantage once you land you can also drop the D on the ground when you go for a duel or a team fight even if you are on your own as this will raise your effective Health with 300.
Which should let you win every duel. You can use explosive mines as impromptu, breaching charges; all you have to do is stack them on top of each other and then blow one up by shooting it. The barricade is the perfect height to keep most of your body and your head covered when you are standing up as a heavy.
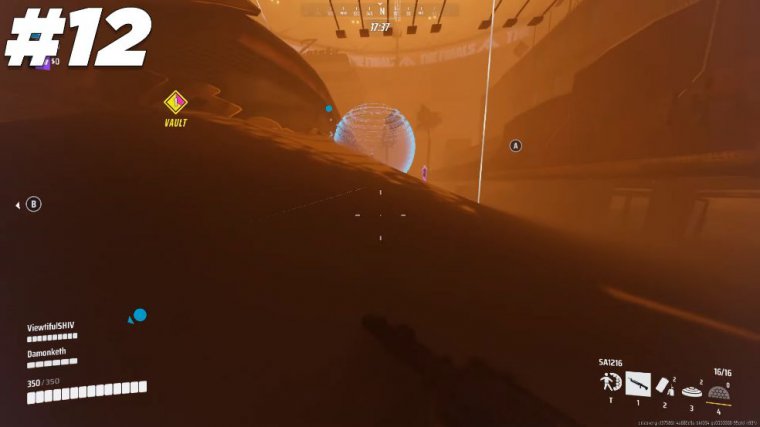
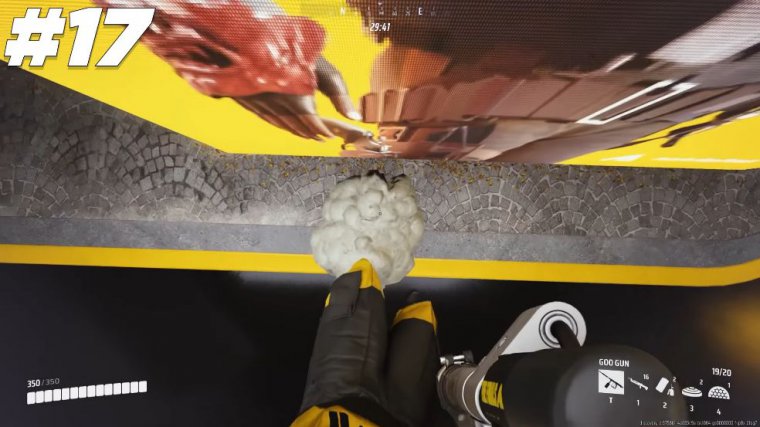
You can set it up and just stand behind it to get something called a head glitch mid-fight. You can make towers and climb straight up vertically with the goo gun. Just look under you, jump, and shoot the goo, and then just rinse and repeat until he hits the goo limit and it crumbles under your own weight.
Now timing is crucial, as if you shoot the goo or jump at the wrong time, it will either break off or you will bounce off of it if you use the flamethrower. Don't aim where your enemies are, but instead aim where they are about to be if you place mines on the orange. Pipe on elevators; you will get completely free kills once the elevators pass through them with enemies on top of them.
While it can secure your kills due to its long cooldown, you should consider keeping the RPG until you see your enemies clustered up for a fight-winning amount of damage in one shot or a light on its own. That being said, a good woma combo is waiting for your lights player to hit the big glitch grenade and then following it up with an RPG.
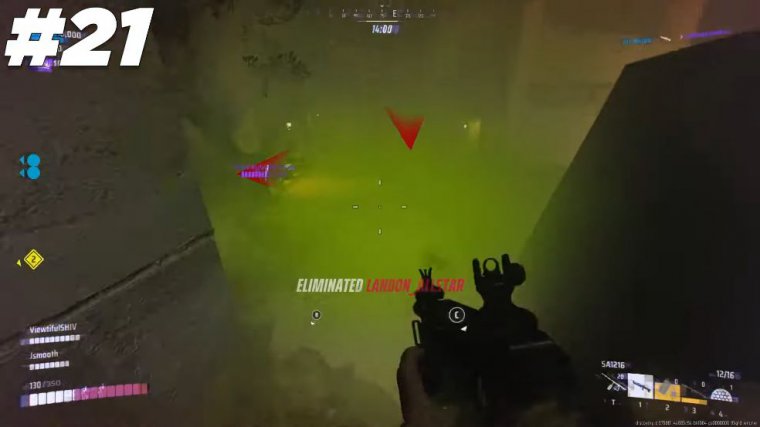
Once your defenses are down, if a sledgehammer or heavy jumps in your face and forces a fight, try to keep your head cool and remember that the SA1 1216 deals significantly more damage. I mean, you can easily kill heavy with one well-placed burst if you're playing with the mesh shield. Make sure to communicate when you're going to hold that shield up, when you're going to take it down, or even when it's going to break.
It can also help to call something like play my shield if you're playing forward or backward, or if you're just moving in general. For some reason, not many notice, but you can hold your primary fire key with the s26. To have it fire in full auto if an enemy goes for a full commit on you, a good way to counter them is by bringing your shield up and forcing them to reposition, sync all of their bullets into your shield, or reload.
As soon as they stop shooting, you get the opportunity to lower your shield and kill them. You can place the explosive mind on the very top of a standing cash out to get a free kill if somebody accidentally gets a little bit too close at the time being. One of the strongest strategies for heavy will be the nuke.
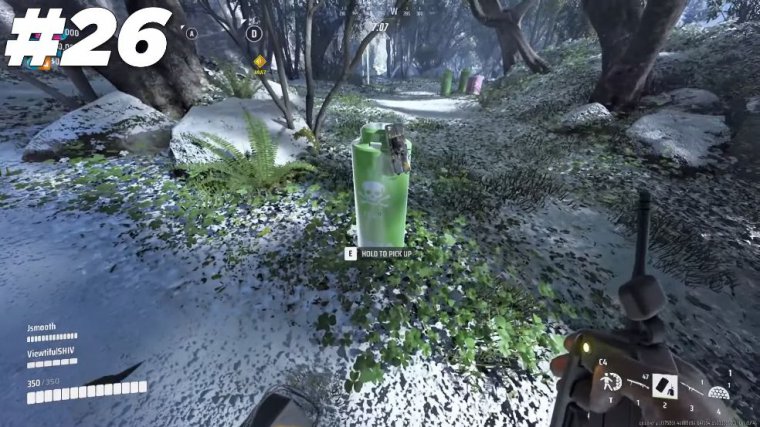
Place one or two C4s on a barrel or prop and just throw it at an enemy, and then activate it when you're close enough to instantly deal upwards of 400 damage against one or many targets. I will always recommend the green barrel, and if you put it on the red canister, just place it on the bottom end of it.
You can deploy a mine over longer ranges by slapping a mine on top of a frobble prop and then tossing it as the prop lands on the ground. It will break, but it will leave the mine in a new position. Instead, if you get hard pushed by the flamethrower, remember that, just like with the sledgehammer, your SA26 will always suffer damage.
Building off of that, just don't use the M60; it's arguably the worst weapon for heavy in the whole game. The sledgehammer travels in a path rather than just doing damage straight in front of you. This means that you can have the sledgehammer deal damage sooner by turning your view away from the enemy since spamming the hammer goes left, right, left, right.
This means that you will ideally want to look to the right, the left, and then the left again to have the damage register as soon as possible. Despite its high health, the barricade will go down in one explosion. It's faster and safer to deploy a dome. Shield by using an underhand throw rather than an ordinary throw.


